
Your kitchen layout determines the best gas cooktop choice by setting size, burner layout, and installation options. Each of these factors affects which models will fit comfortably and work well in your kitchen.
During kitchen layout design, measure your bench first, because its length rules out many models before you start. Yet most of the buyers work the other way around. They pick a 90 cm model at the showroom, then learn the cut-out won’t clear the cabinetry or the gas line sits on the wrong wall.
This guide covers the bench space each width needs, how gas and induction behave in small and open-plan rooms, and which features earn their price. You’ll also see what your fitter checks before anyone turns the gas on, so keep a tape measure near.
How Does Your Kitchen Layout Affect the Right Gas Cooktop Choice?
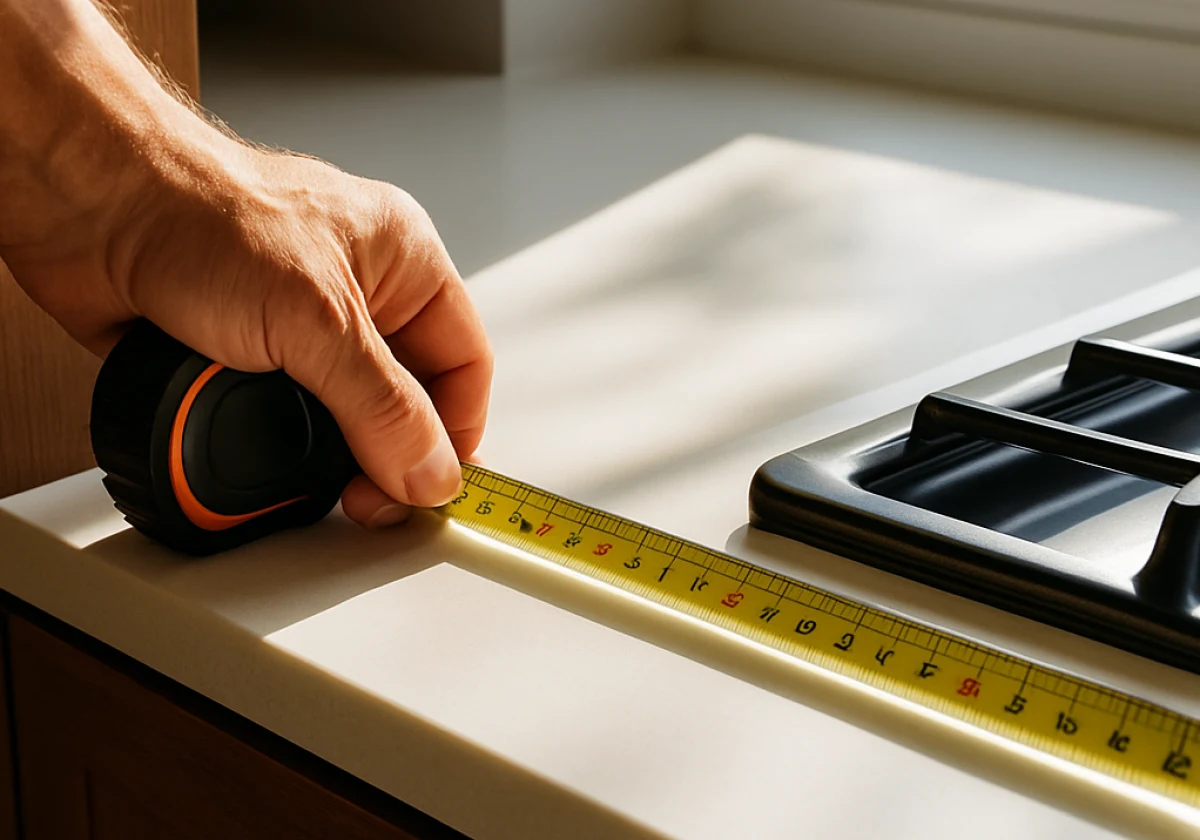
We’ve already mentioned that kitchen layout affects your gas cooktop choice through bench space, burner layout, clearances, and the position of your gas supply. These checks help you rule out cooktops that won’t fit your kitchen or meet its installation requirements.
Now, check those three features in the order below before you shortlist a single cooktop model.
Measuring Bench Space for a 60 cm or 90 cm Gas Cooktop
Start by measuring the available bench space and checking the existing cut-out if you’re replacing a cooktop. A 60 cm or 90 cm gas cooktop needs enough room to fit securely, with the required clearances around it.
In practice, a 60 cm gas cooktop drops into most older benches, since the cut-out runs slightly narrower than the top you see on display. However, a 90 cm gas cooktop offers more burners, which leaves less bench space on either side for food preparation and cooking utensils.
So, before choosing a wider cooktop, check how much bench space you’ll have left for food preparation. Otherwise, you may have to use the sink area for chopping and other kitchen tasks.
Where High-Output Wok Burners Fit in a Galley Kitchen
In a galley kitchen, a wok burner belongs at the end of the run rather than in the middle. That’s because a central position may force you to reach past the wok’s tall flame when using nearby burners, which increases the risk of burns.
Generally, wok burners throw heat wider than a standard ring, so the cupboard door beside one takes a beating over time. Position it where the rangehood pulls hardest, not where it looks tidy.
If you regularly cook stir-fries, a dedicated wok burner gives you the high heat needed for quick, even cooking. Otherwise, a standard burner may be enough and leave you with more bench space.
Clearances, Cabinetry and Your Gas Supply Position
Clearances decide where the cooktop can’t sit. Manufacturers set a minimum gap to side walls and overhead cupboards, and their installation instructions specify the required distances (ask for the installation sheet before you pay a deposit).
Your gas supply position carries the same weight. Shifting a mains gas line across the room means opening up cabinetry, so what starts as a swap becomes a small kitchen renovation with a licensed professional billing for the extra pipe run.
For that reason, we check which side of the house the meter sits on before anyone orders a cooktop. Gas lines cost the least when the appliance ends up near the point where the pipe already enters.
Gas Cooktops vs Induction Cooktops: Comparing Results in Different Layouts

Once you map the layout, fuel is the next call. Renovators often order an induction cooktop first, then find their switchboard can’t handle the extra load. This usually happens when your washing machine, coffee machine, air conditioners, and the rest of the kitchen appliances already draw most of the electricity.
The table below lines up the two cooktop types on the points that shift with your layout.
| What changes | Gas cooktops | Induction cooktops |
|---|---|---|
| Heat control | Flame moves the moment you turn the knob | Fast heat adjustment through touch controls |
| Connection | Needs a gas supply and a licensed fitter | Needs its own circuit and spare switchboard capacity |
| Ventilation | Burns fuel, so the rangehood works harder | Puts less heat into the room |
| Cleaning | Lift off the burner caps and pan supports | Wipe the flat glass once it cools |
| Small or open-plan | Suits galley kitchens and heavy cooking | Suits open-plan rooms and tight benches |
Simply put, open-plan rooms favour induction, as no flame heats the air you’re sitting in. Meanwhile, galley kitchens and keen cooks favour gas, where instant heat control answers the moment you move the knob, and the burners take woks and large stockpots.
Ultimately, the choice depends on your kitchen layout and cooking habits. Gas suits cooks who prefer an open flame and direct heat control, while induction offers a cooler cooking environment and a flat surface that’s easier to clean.
Choosing Features That Match Your Gas Cooking Style
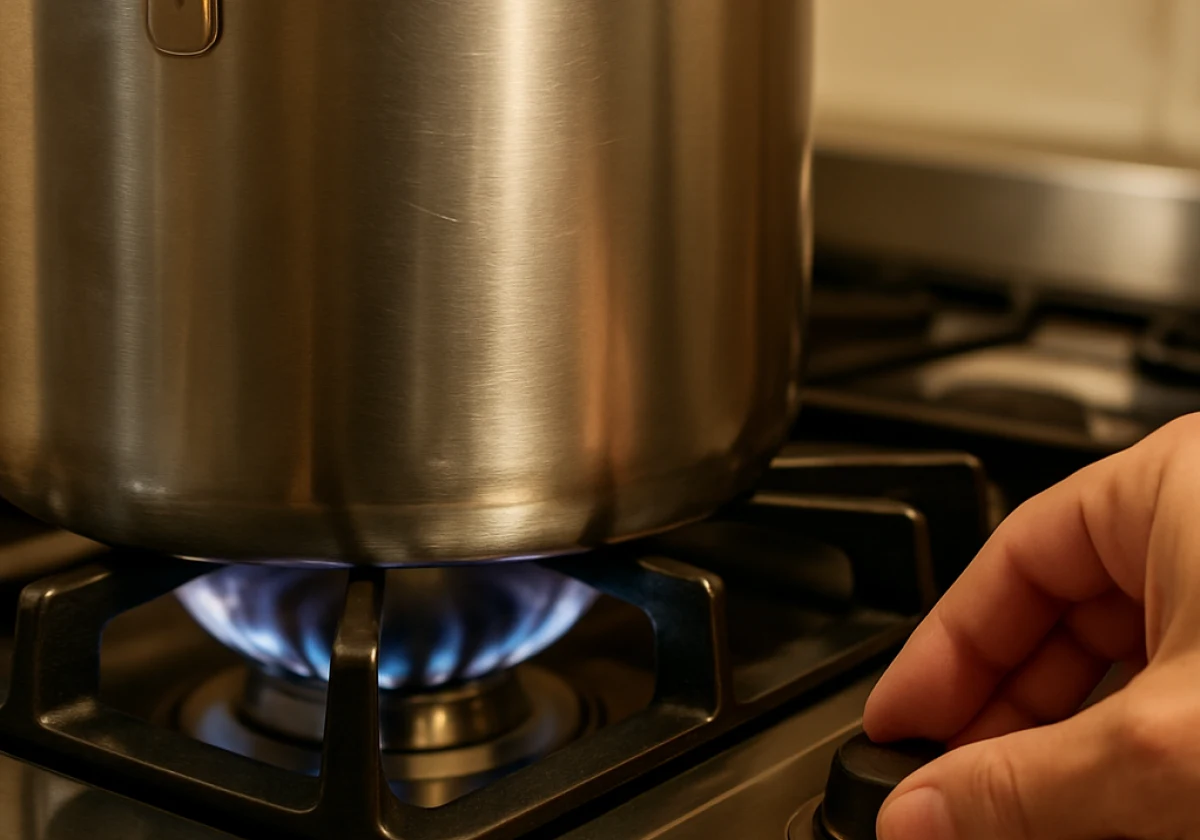
Choosing good features saves you money because you only pay for burners and controls you’ll use. Sometimes, showrooms hang more labels on gas models than on ceramic cooktops, and those spec lists run from ignition systems to trivet finishes without changing how you cook.
These are the main features worth checking before you compare products.
- Flame Failure Devices: Every burner should carry a flame failure device that shuts the gas off when the flame dies. For example, if boiling pasta spills over and puts out the flame, the device cuts off the gas supply to that burner.
- Cast Iron Pan Supports: Heavy cast iron trivets hold a wok steady instead of letting it rock. By contrast, enamel-coated cast iron is easier to wipe clean, while uncoated cast iron needs thorough drying to prevent rust.
- Precise Flame Control: Look for control knobs that hold a low simmer rather than just high and off. Melting chocolate or holding a sauce needs a small, steady flame you can trust.
- Stainless Steel or Tempered Glass: Finishes change how much cleaning you do. For context, stainless steel hides scratches on a busy bench, while a tempered glass top wipes down with a damp cloth, fingerprints and all.
- Natural Gas or LPG: Before delivery day, check the gas type compatibility on the spec sheet. Many models leave the factory set for natural gas and need a conversion kit for bottled LPG.
Quick Tip: Sort the safety features first, then the finish and burner count. Five burners look impressive on a showroom floor, though plenty of households cook on two rings most nights.
Once you’ve settled on a model, your layout still decides how installation unfolds.
Gas Connection and Installation Change with Every Kitchen Layout
Unlike the kitchen appliances you can plug in yourself, you need to connect a gas cooktop by a licensed gas fitter. In Australia and New Zealand, gas safety regulations require professional installation by an appropriately licensed professional.
Tell your gas fitter to start with the benchtop, because the material sets the order of trades. For instance, stone needs the fabricator to cut the opening offsite, while laminate gets its cut-out on the day.
From there, the fitter checks clearances above and beside the gas burners. If you’ve ever cooked under a low rangehood, you already know how quickly that gap turns greasy. That’s why the rangehood must sit at the height specified in its installation instructions.
Island cooktops may also need stronger extraction because they lack surrounding walls to help contain cooking fumes. Check these requirements before installing the splashback.
Fuel type counts at this stage too. If you’re running bottled LPG, the fitter installs a conversion kit before testing (bottled LPG burns at a different pressure), which means the installation takes longer.
Remember, one detail saves people grief later on. And 60 cm gas, induction and ceramic cooktops all share a similar cut-out, so swapping type down the track rarely means a new benchtop. From what we see in kitchens, cut-out width causes more returns than cooking performance ever does.
Plan Your Layout First, Then Pick Your Gas Cooktop
The best gas cooktop for your home is the one your bench, clearances, and gas line can take without a rebuild. Start with your kitchen’s limits, then compare the models that fit your space and cooking needs.
Plus, measure the run, mark where the pipe enters, and carry those numbers with you when you shop. Just two minutes with a tape measure will save you a return trip and a second quote.
Ready to plan a kitchen around the way you really cook? Talk to Blue Olive for guidance on matching your layout to the cooktop that suits it.